V3:
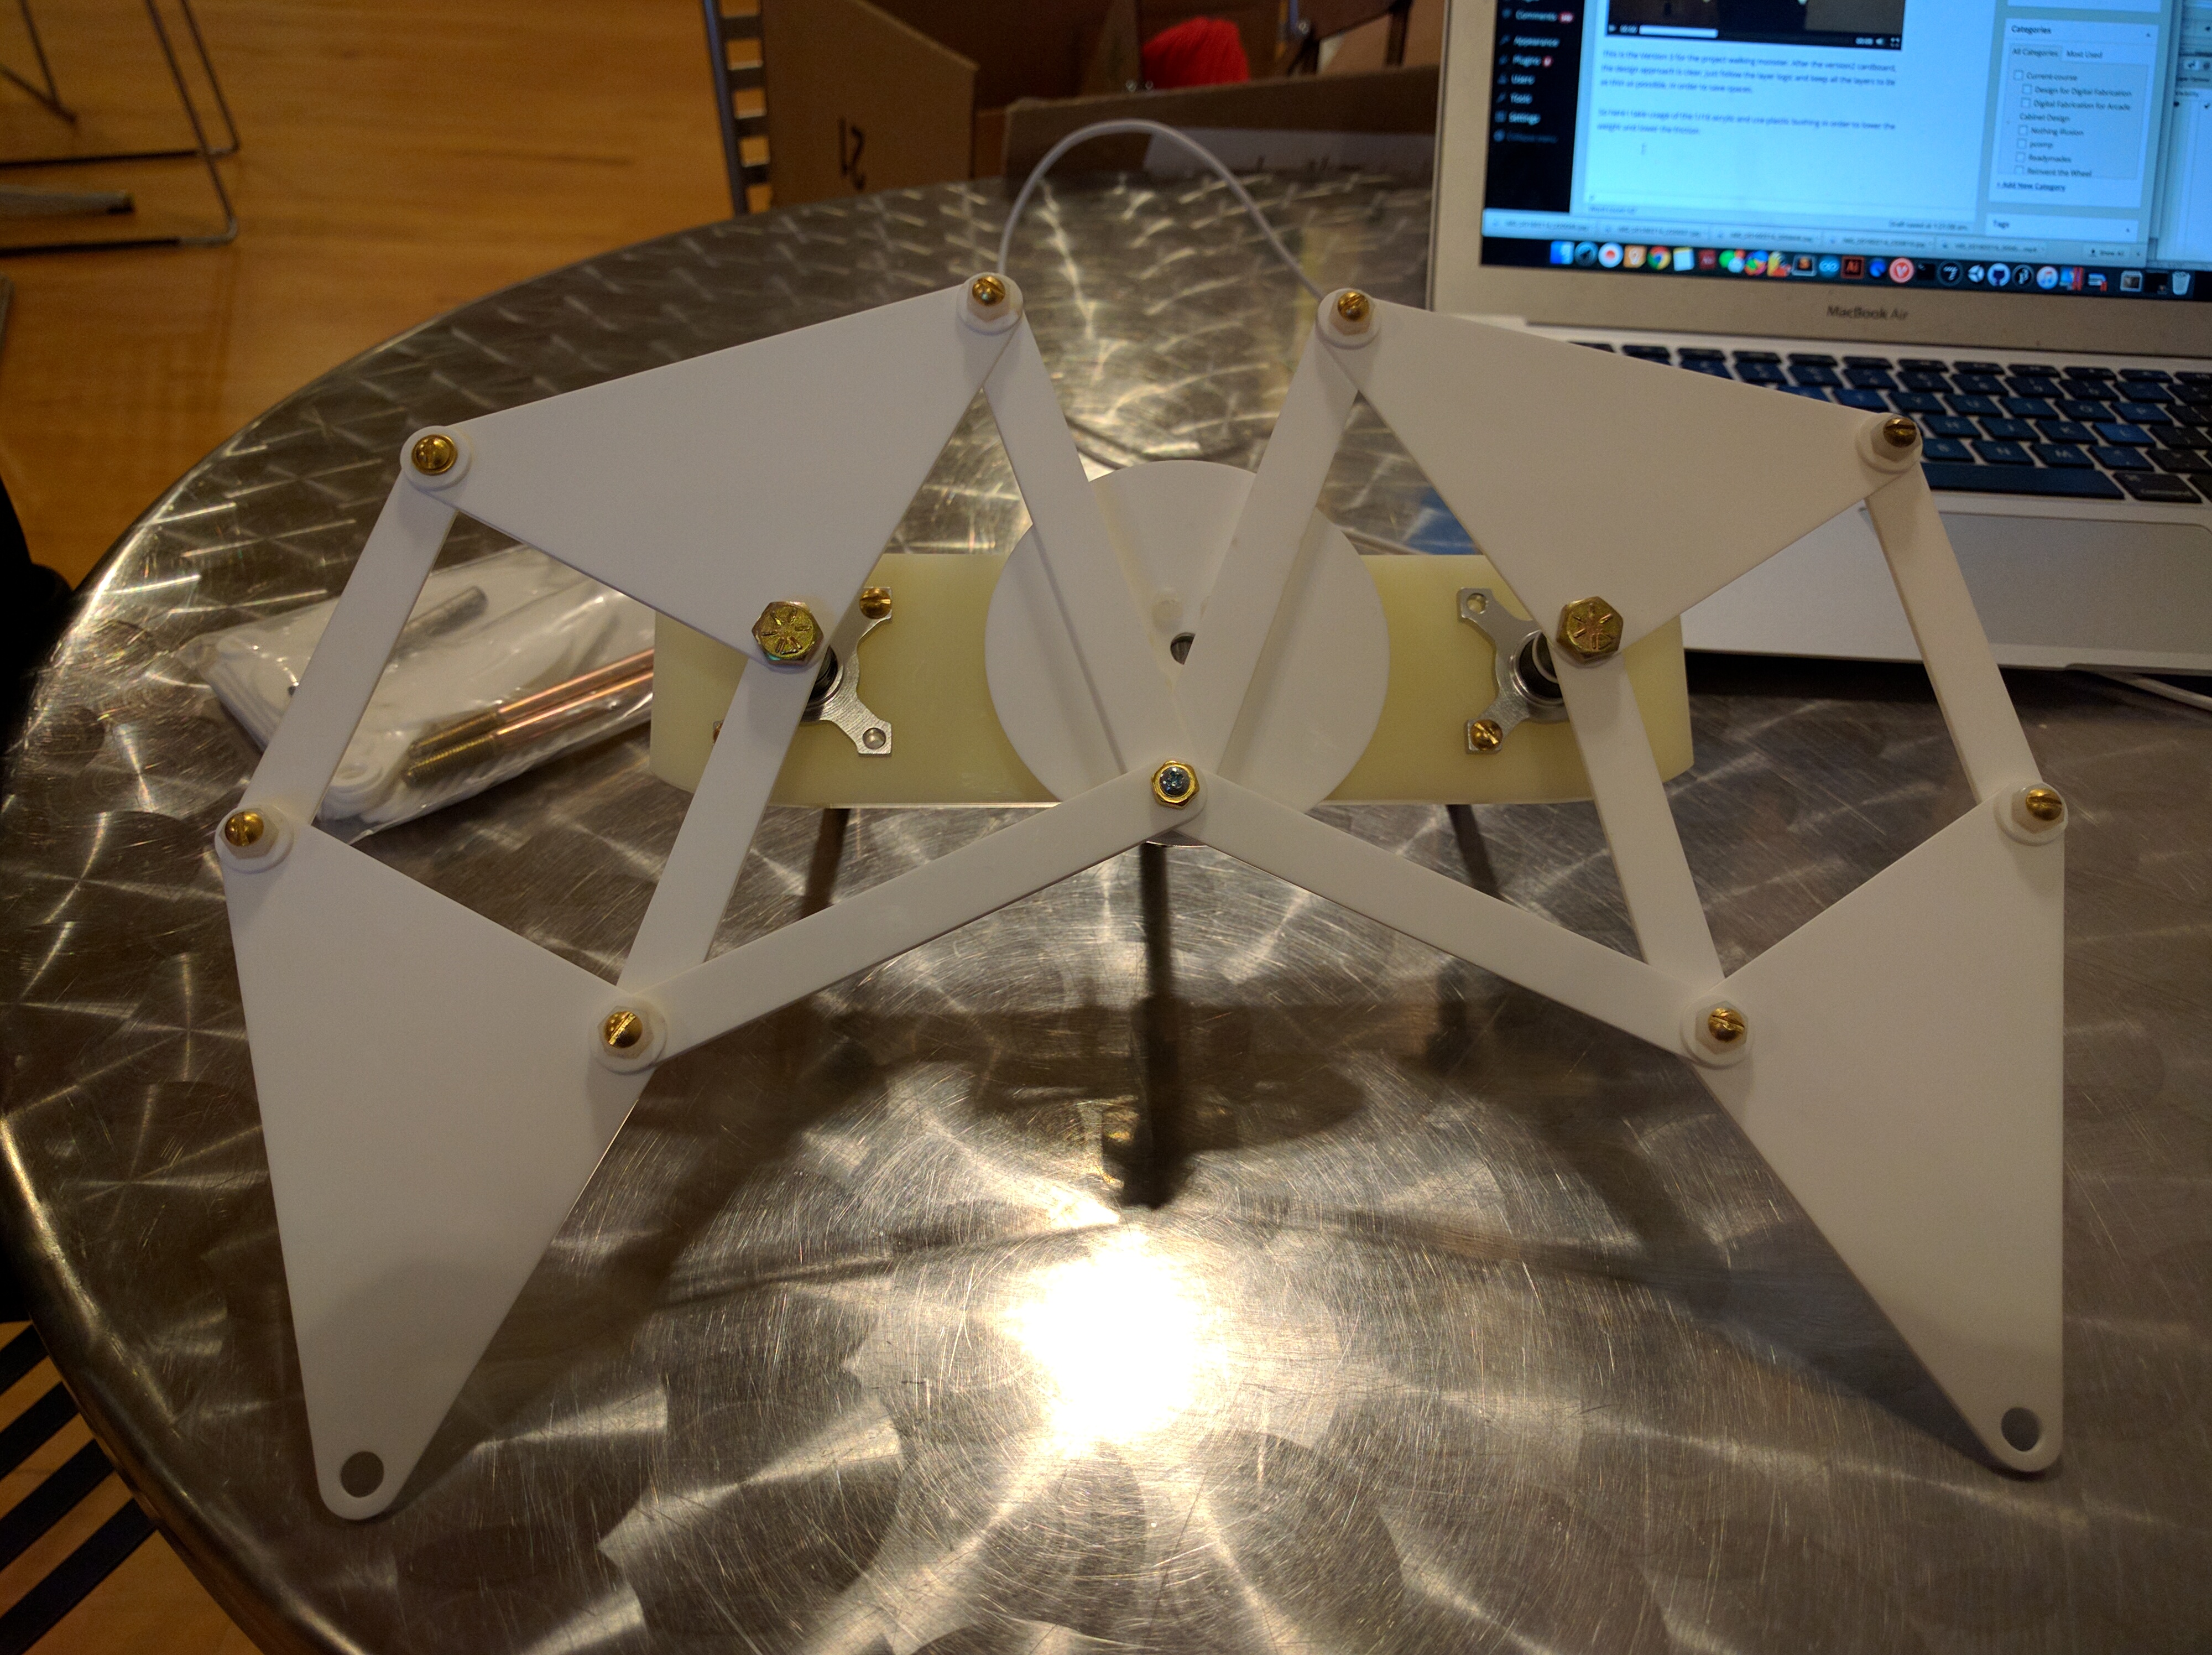
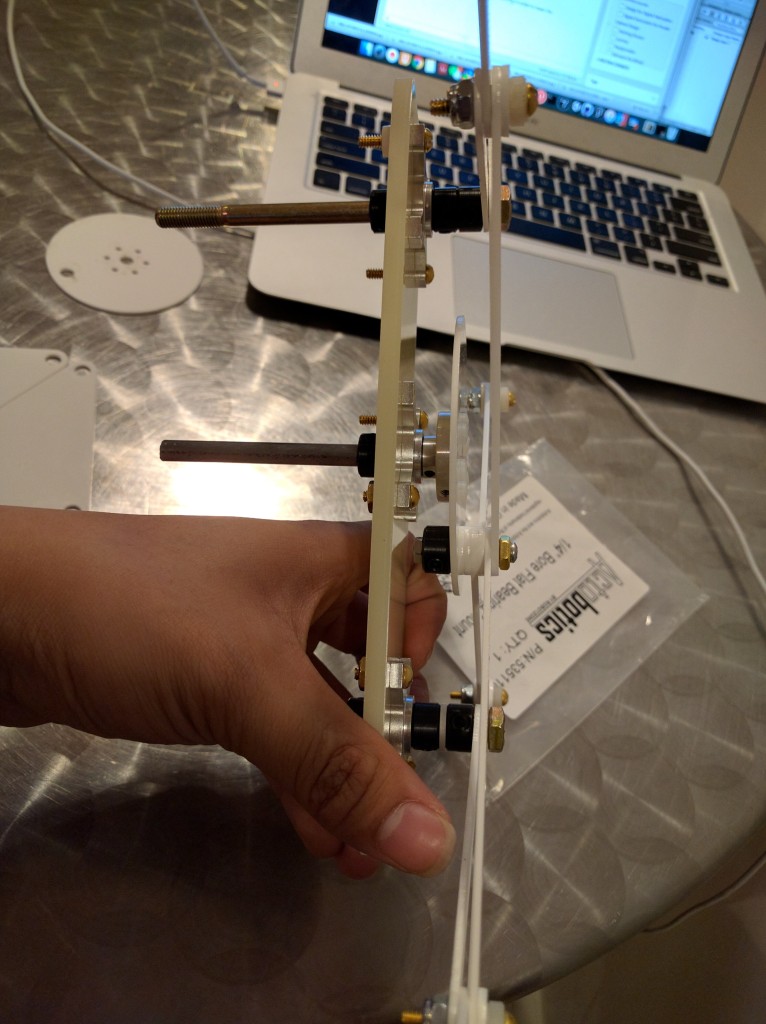
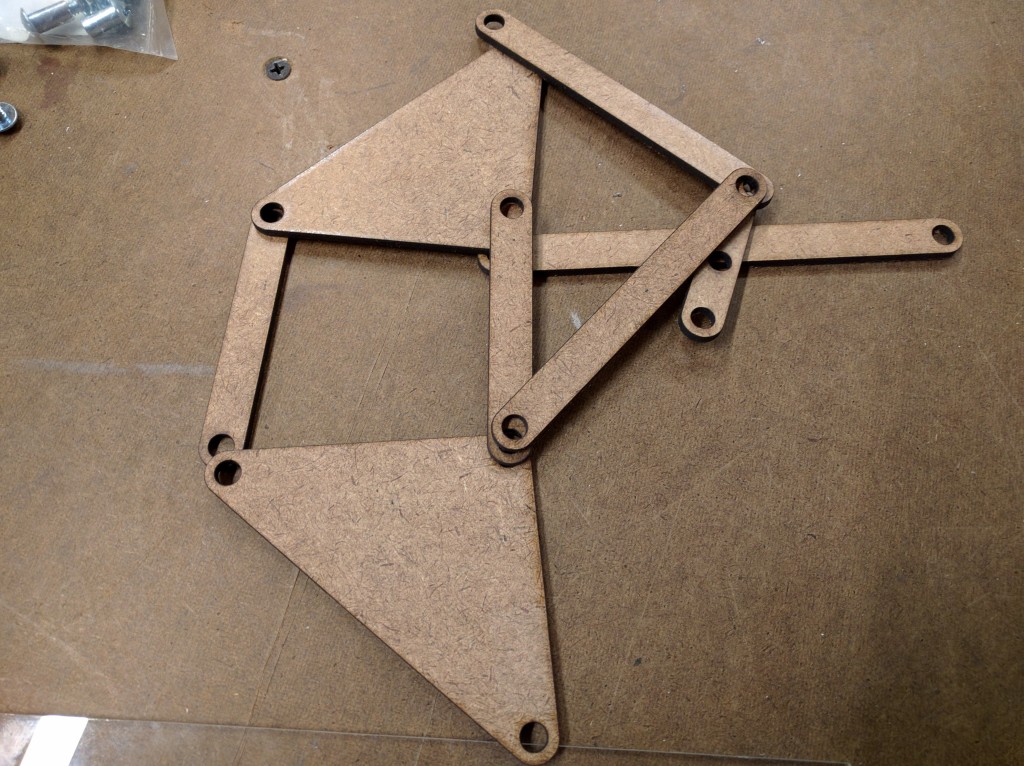
This is the Version 3 for the project walking monster. After the version2 cardboard, the design approach is clear, just follow the layer logic and keep all the layers to be as thin as possible, in order to save spaces.
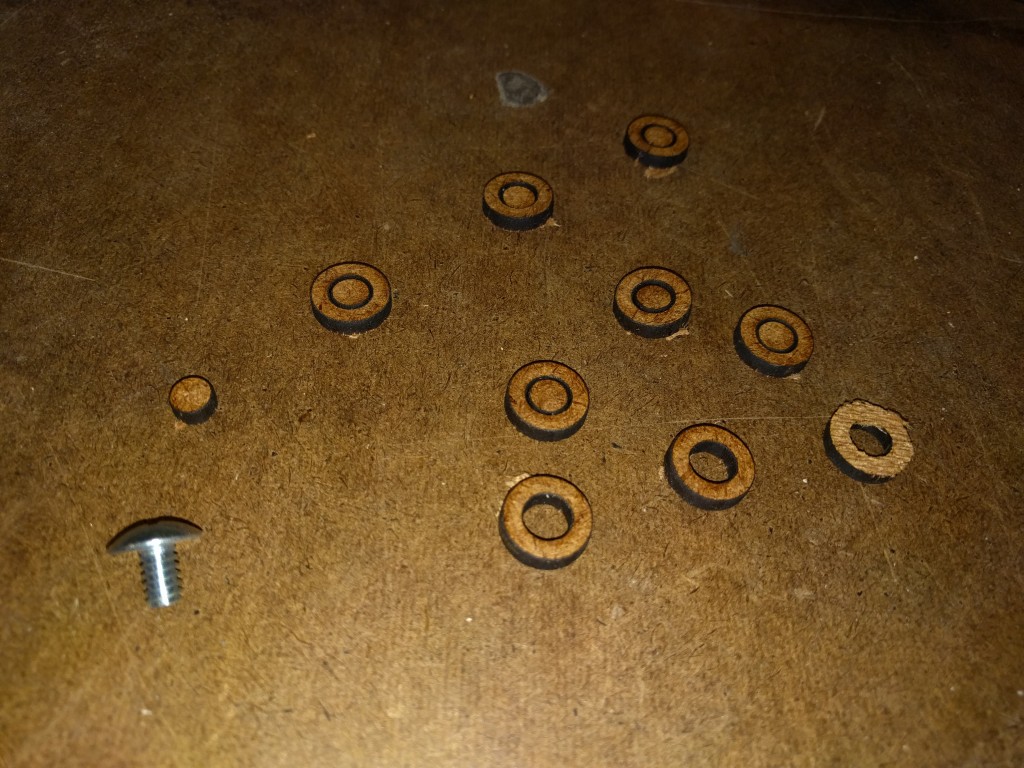
So here I take usage of the 1/16 acrylic and use plastic bushing in order to lower the weight and lower the friction.
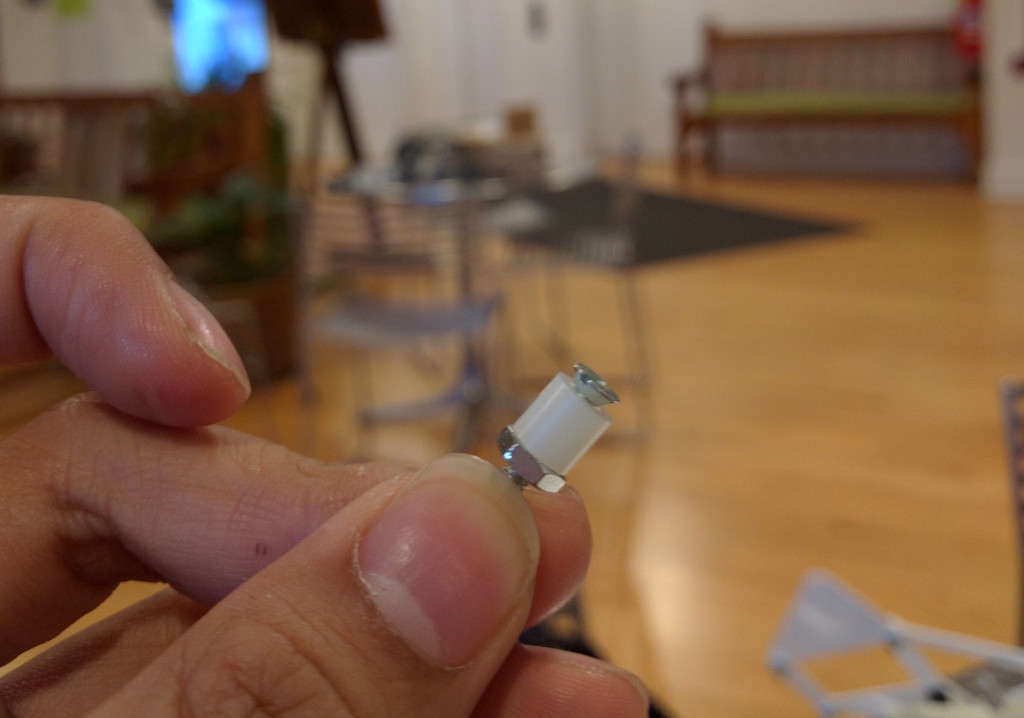
For the local axial, I take the logic as below:
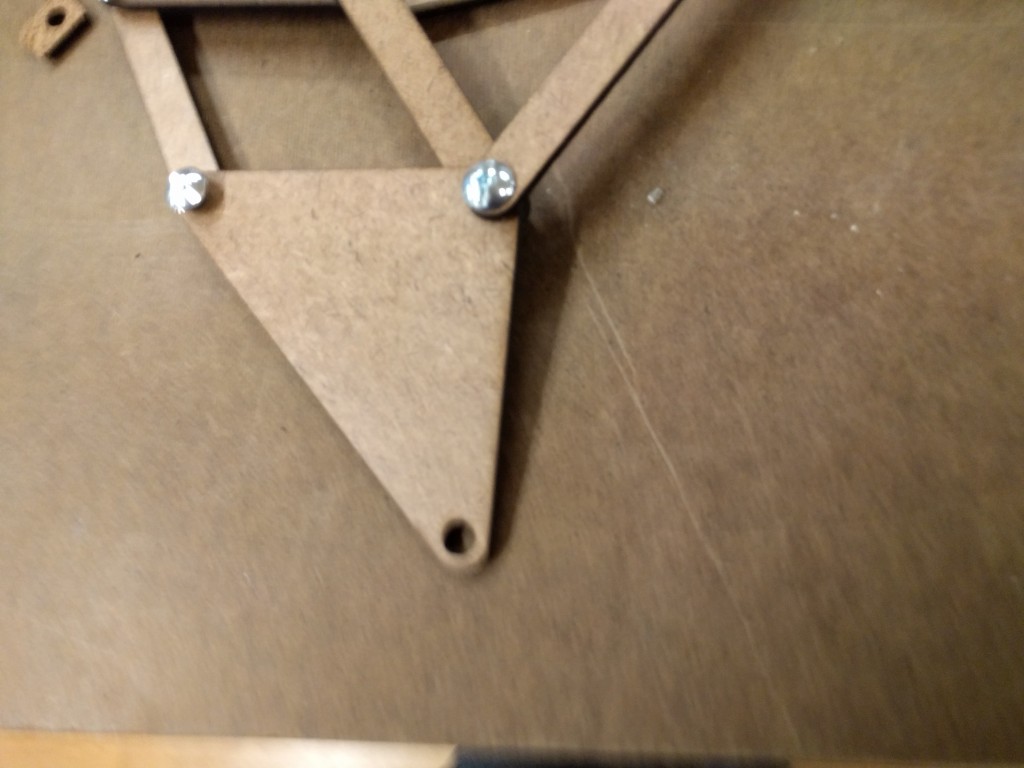
screws + plastic bushing + stopping nuts
And for the three main axles, I take the nuts and bearing in order to keep everything in the exact place
This version works good, but still have some problems:
- if the board has been bent, the friction will glow up very quick
- Thin Acrylic is not able to support a heavy body
So for the next version, I will add more layer to keep its stability, and add motor to trigger this structure, and use high precise staffs to build the walking monster
V2:
This time, I clarify the layer relationship of everything, like designed below:
Suddenly I realized that the inner three holes should fixed into three axial, not to keep everything locally.
And what’s more, I add a more long legs in the layer 3, in order to make everything to be hard jammed together.
The video can be see here:
V1:
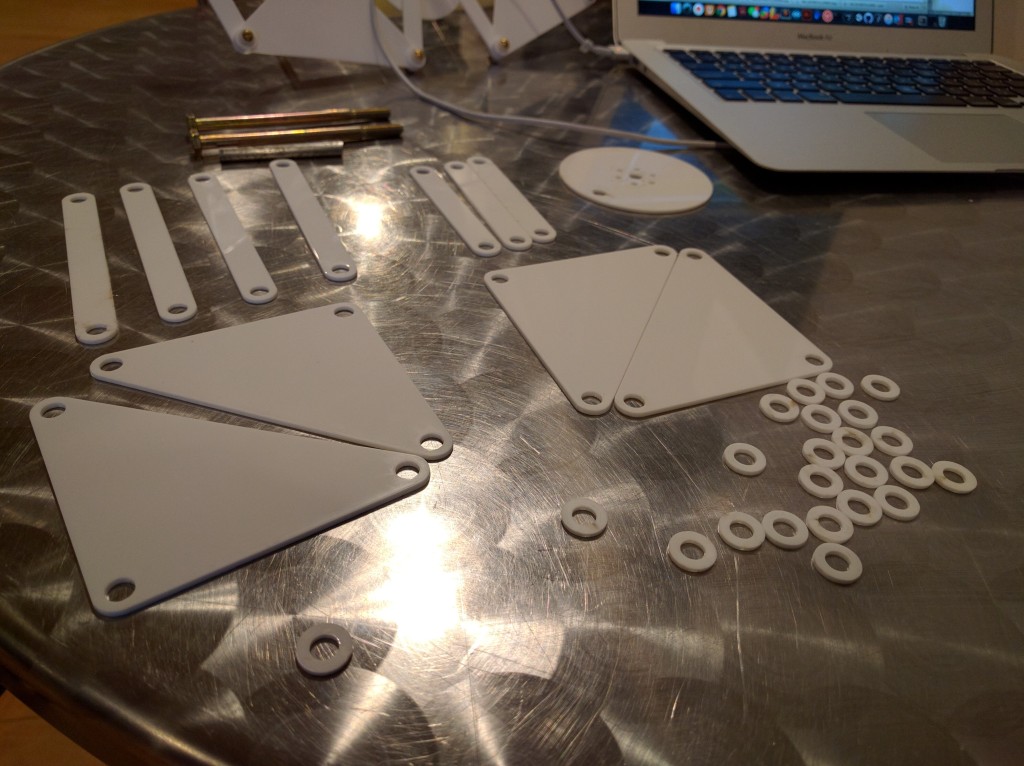
So I’m trying to make the walking monster from the course web. To draw something is not difficult. Here I set up some local washings in order to test the layer relationship for each part.
And I take the blinding post for the first version.
